How to Build a DIY Emergency Shelter in the Wilderness
BUSHCRAFTEDUCATIONSHELTER
Imagine you find yourself lost or stranded in the wilderness, far from civilization and with no immediate help in sight.
The sun is setting, and temperatures are dropping rapidly. In this situation, having the skills to construct a DIY emergency shelter can be a life-saving measure. Building a shelter can provide protection from the elements, preserve body heat, and increase your chances of surviving until help arrives or you find your way back to safety. In this blog post, we'll guide you through the steps to build a simple yet effective emergency shelter using natural resources found in the wilderness.
Assess Your Surroundings:
Before constructing an emergency shelter, take a moment to assess your surroundings. Look for a suitable location with flat ground, away from potential hazards like falling branches, rockslides, or water accumulation. If possible, choose an area with natural windbreaks like dense trees or bushes to minimize exposure to strong winds.
Gather Necessary Materials:
Once you've found a safe location, gather the materials needed to build your shelter. You'll primarily be using natural resources, so look for branches, leaves, and any other debris that can serve as building materials. Deadfall and dry leaves are excellent choices for insulation.
Lean-To Shelter:
One of the simplest and most effective DIY emergency shelters is the lean-to shelter. Follow these steps to build one:
Step 1: Find a sturdy, long branch or fallen tree limb. Lean it against a large, stable object like a tree or a rock. This will be the main support for your shelter.
Step 2: Place smaller branches against the main support to create a slanted roof. Ensure that the branches are tightly packed together to minimize gaps where rain or wind can penetrate.
Step 3: Layer leaves, pine needles, or any available foliage on top of the roof to provide insulation and waterproofing.
Step 4: If possible, create a small wall on one side of the lean-to using branches or rocks to block prevailing winds and further protect yourself from the elements.
Debris Hut Shelter:
Another effective option is the debris hut shelter, which offers better insulation and protection against colder temperatures. Follow these steps to build one:
Step 1: Find a long, sturdy branch and prop it up at an angle, creating a base for your shelter.
Step 2: Place smaller branches against the base to form the frame of the shelter.
Step 3: Layer the frame with leaves, dry grass, and any available debris to create a thick insulation layer.
Step 4: Once the frame is adequately covered, crawl inside the debris hut, and pack the debris down to create a snug fit.
Step 5: Seal any gaps or holes with additional foliage to keep cold air and rain out.
A-Frame Shelter:
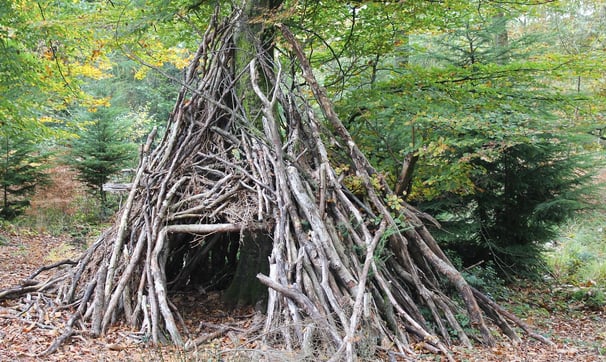
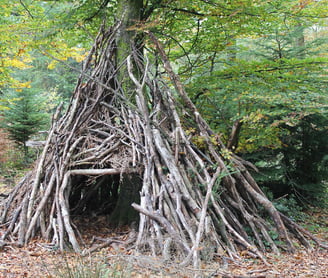
The A-frame shelter is another straightforward option, providing a more enclosed and robust structure. Follow these steps to build one:
Step 1: Find two long, sturdy branches and place them in an A-shape with the tops meeting overhead.
Step 2: Secure the branches together at the top using natural cordage made from vines or flexible branches.
Step 3: Layer smaller branches, leaves, and debris along the A-frame to create walls and a roof.
Step 4: Optionally, create a raised bed inside the shelter using leaves or branches to keep yourself off the cold ground.
Conclusion:
Having the knowledge and skills to build a DIY emergency shelter in the wilderness can be invaluable in life-threatening situations. Remember to stay calm, assess your surroundings, and use natural resources wisely. The lean-to, debris hut, and A-frame shelters are all effective options, and the choice of shelter will depend on your specific situation and the available materials. Always prioritize safety, and if possible, let someone know your travel plans before venturing into the wilderness. With the right preparation and ingenuity, you can increase your chances of surviving and making it back home safely.