DIY First Aid Kit for Emergencies
EDUCATIONPREPPINGFIRST AID
Creating Your Own DIY First Aid Kit for Emergencies: A Comprehensive Guide
Accidents and emergencies can happen at any time, catching us off guard and leaving us in need of immediate medical attention. A well-prepared first aid kit can be a lifesaver in such situations, allowing you to provide essential care until professional help arrives. While store-bought first aid kits are readily available, creating your own DIY first aid kit can ensure it's tailored to your specific needs and preferences. In this blog post, we'll guide you through the process of assembling a comprehensive and efficient first aid kit for emergencies.
Step 1: Selecting the Right Container
The first step in creating your DIY first aid kit is choosing the right container to store all the medical supplies securely. A sturdy and waterproof container, such as a plastic or metal box, tackle box, or a fabric pouch with multiple compartments, works best. Ensure it's large enough to accommodate all the supplies without being cumbersome to carry around.
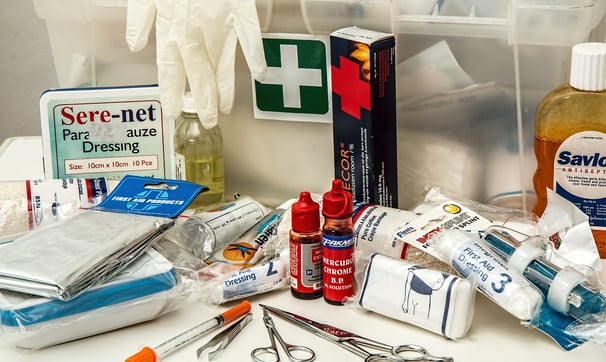
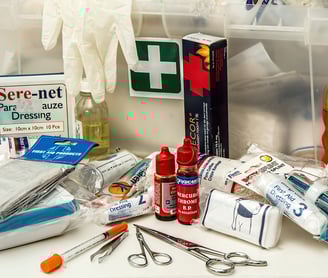
Step 2: Essential Supplies
Your first aid kit should include a variety of essential supplies to address a range of injuries and medical situations. These basic supplies may include:
Bandages and dressings of various sizes: Adhesive bandages, gauze pads, and sterile adhesive strips are essential for covering cuts, scrapes, and wounds.
Antiseptic wipes or solution: To clean wounds and reduce the risk of infection.
Medical adhesive tape: For securing dressings and bandages in place.
Tweezers and scissors: To remove splinters or cut clothing for better access to injuries.
Disposable gloves: To protect both the caregiver and the patient from potential infections.
Pain relievers and fever reducers: Over-the-counter medications like acetaminophen or ibuprofen can help manage pain and fever.
Antihistamines: For allergic reactions and insect bites.
Thermometer: To monitor body temperature.
Instant cold packs: To reduce swelling and pain in case of sprains or strains.
Elastic bandage: For providing support to sprained joints or injuries.
Step 3: Personal Medications
If you or your family members have specific medical conditions, include their prescribed medications in the first aid kit. Make sure to check expiration dates regularly and replace them as needed.
Step 4: Specialized Items
Depending on your lifestyle and potential risks, consider adding specialized items to your first aid kit, such as:
EpiPen: For severe allergic reactions (anaphylaxis).
Inhaler: For individuals with asthma or other respiratory conditions.
Emergency contact information: Include a list of emergency contacts, relevant medical information, and any allergies.
Step 5: First Aid Manual and Supplies Inventory
Ensure you have a first aid manual or guidebook that provides instructions on how to administer basic first aid. Familiarize yourself with its contents to effectively handle emergencies.
Also, maintain a supplies inventory checklist inside the kit. This helps you keep track of expiring items and restock as necessary.
Step 6: Periodic Inspection and Replenishment
Regularly check your DIY first aid kit to ensure all supplies are up to date and in good condition. Replace expired items, restock depleted supplies, and update the emergency contact information when necessary.
Conclusion
A well-prepared DIY first aid kit can be a vital tool in providing immediate care during emergencies. By following the steps outlined in this guide, you can create a comprehensive and efficient first aid kit tailored to your specific needs. Remember that the first aid kit is not a substitute for professional medical attention, but it can significantly help in managing injuries until professional help arrives. Stay prepared, stay safe!